LSC-CyFair Multimedia Center
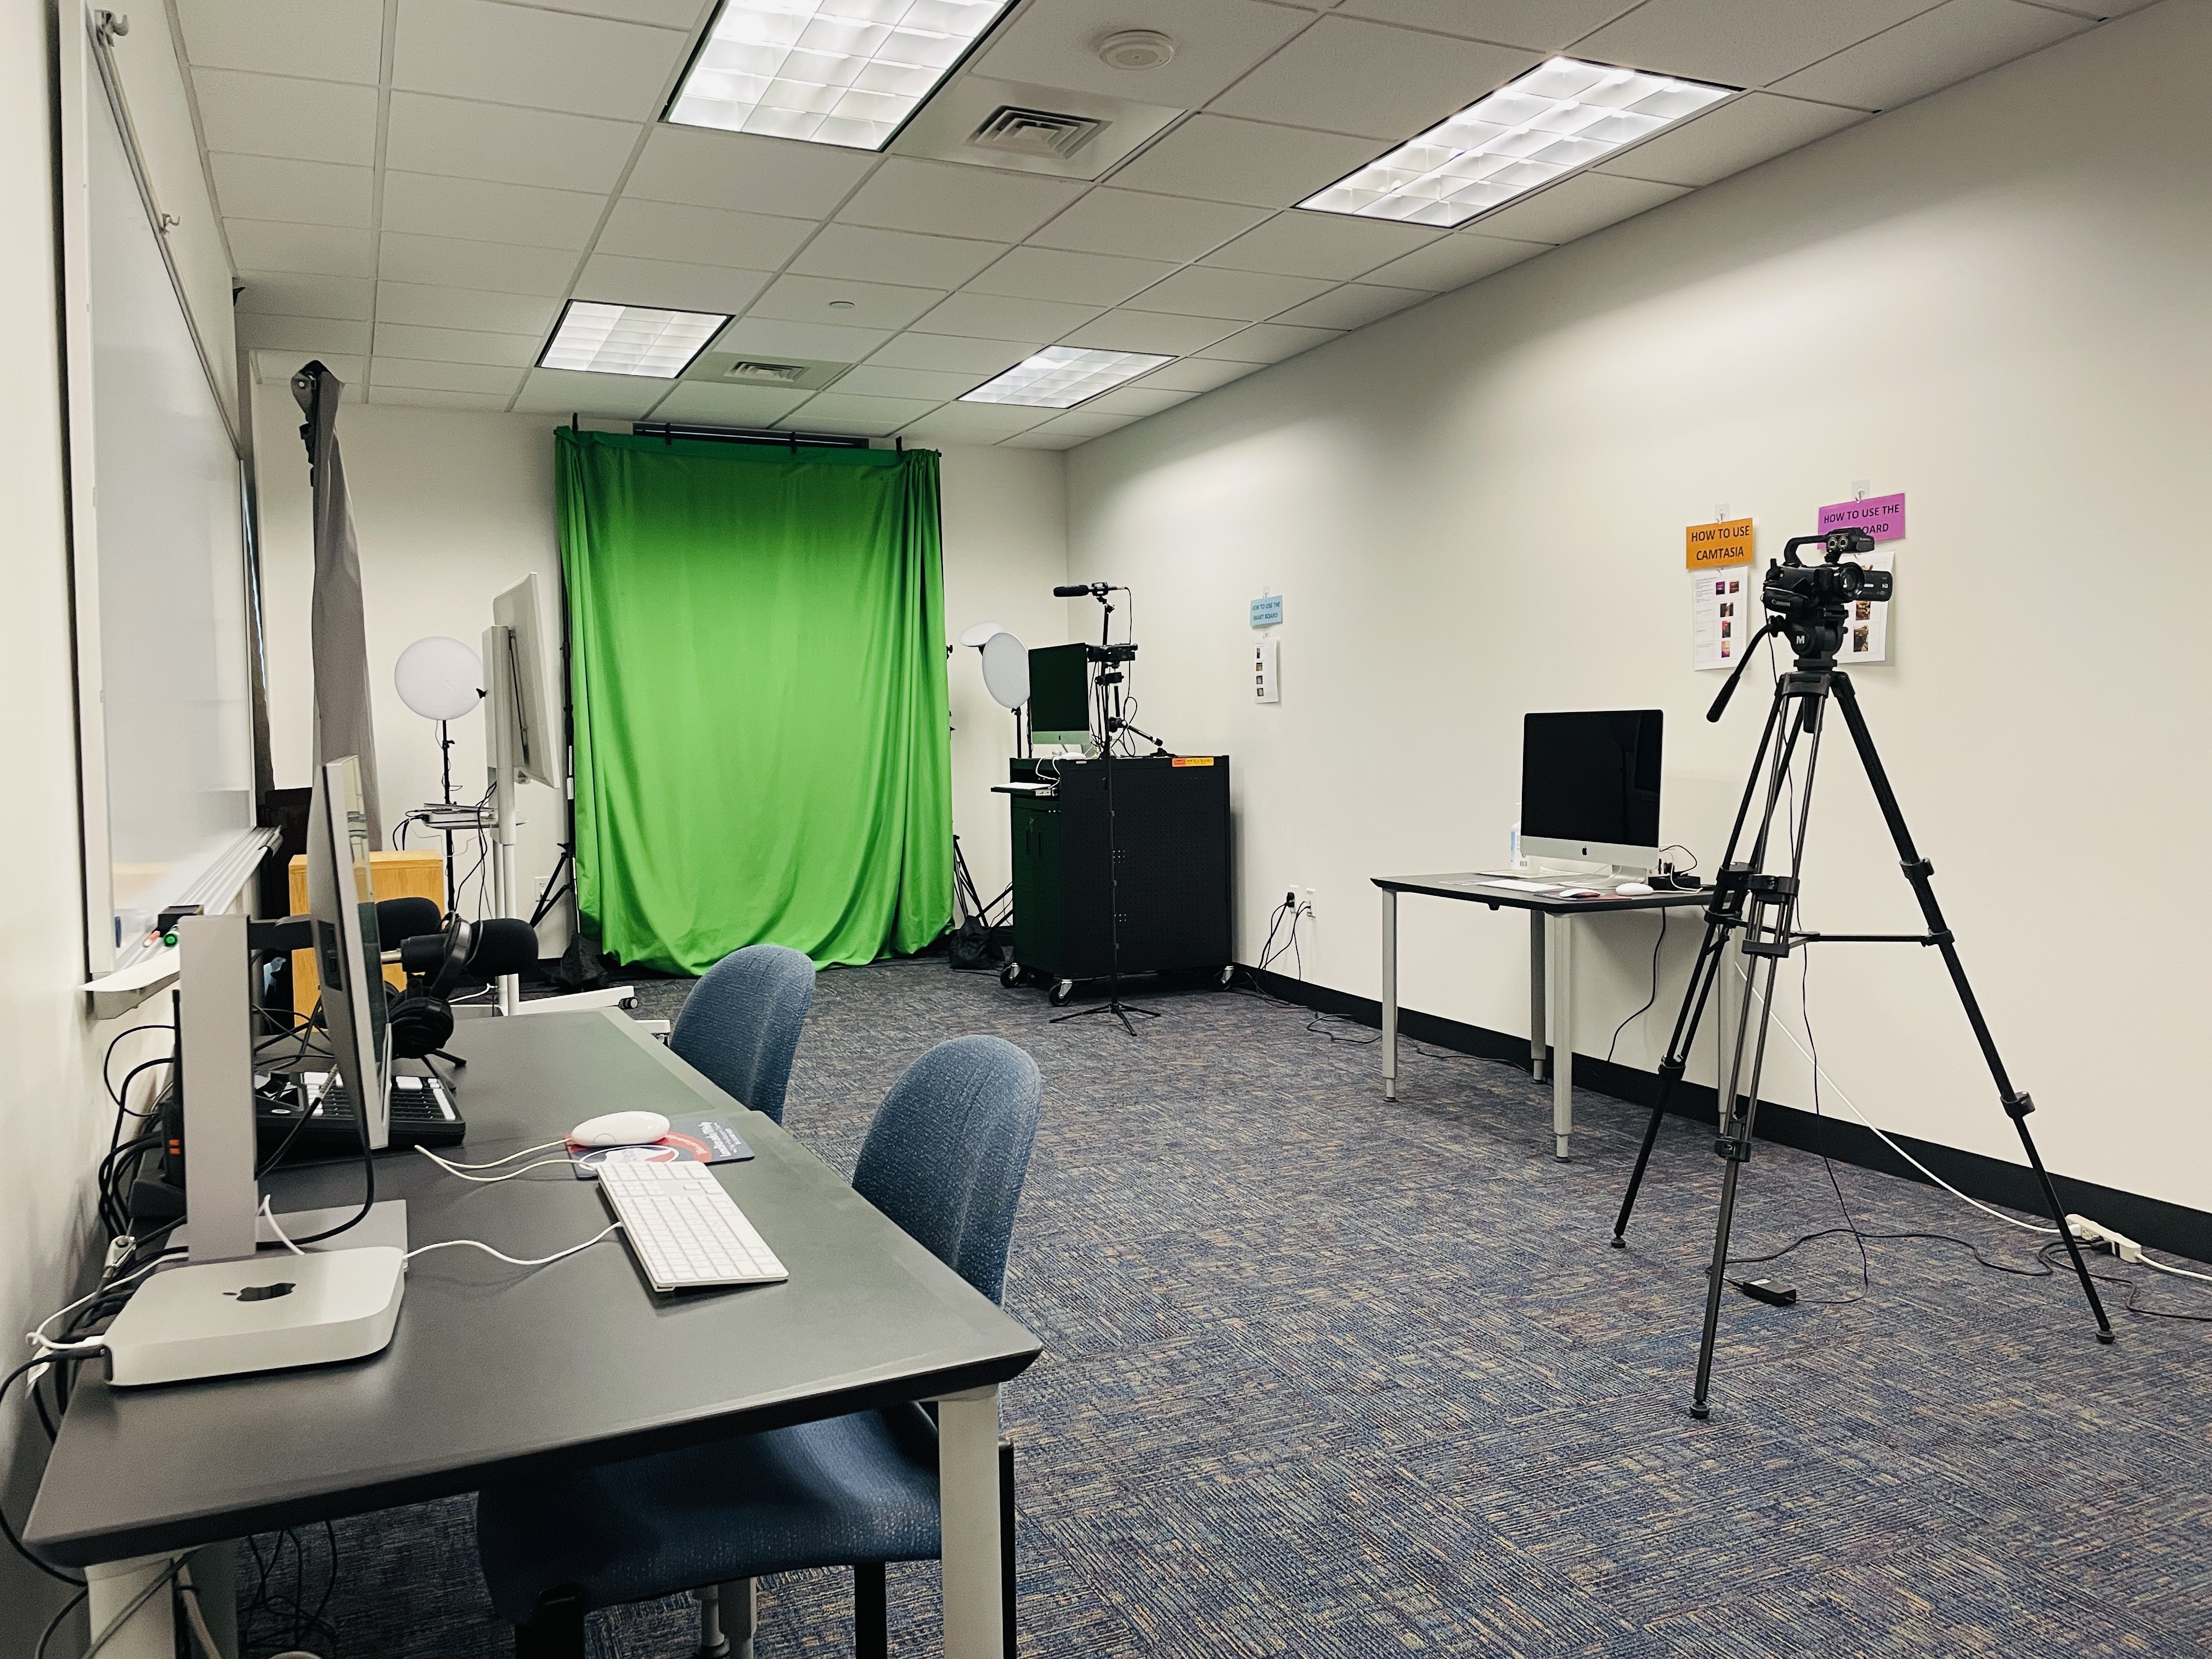
The Multimedia Center is a video production studio that enhances teaching and learning at LSC-CyFair, allowing faculty, students and staff to record video content without any technical expertise required.
The equipment and set up of the room makes it easy to create high quality and professional videos, so users can only focus on creating the content for the video projects without having to know anything about lights and cameras.
Reserve the Multimedia Center for your project today! The LSC-Cyfair Multimedia Center is open to all LSC faculty, staff, and currently enrolled students.
Hours Open
Please note that the Multimedia Center is closed for all Lone Star College System holidays and during semester breaks. Note: The last reservation will be accepted one hour before closing.
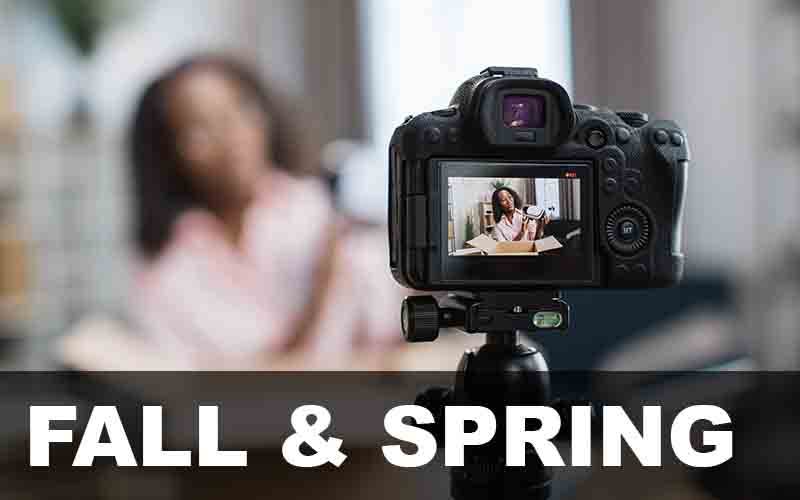
Fall & Spring Hours
Mon-Thur:
8:45am - 4:30pm (Please note that the last reservation will be accepted at 3:30 PM)
For Friday and Saturday hours, please send a request to: Multimedia

Summer Hours
Mon-Thur:
8:30am - 3:30pm
Fri-Sun: Closed
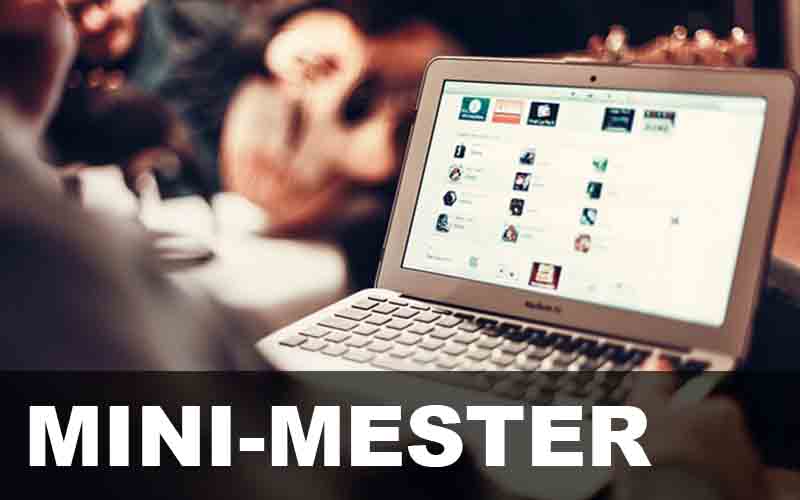
Mini-mester Hours
Closed
Reservation Guidelines – Multimedia Center
Please review the following guidelines before submitting your reservation request:
- All reservations must take place during Language Lab hours. No exceptions are allowed.
-
Reservation requests must be submitted at least one (1) business day in advance.
-
A reservation is not confirmed until you receive a Microsoft Outlook calendar
invitation from the Language Lab staff. If there is a scheduling conflict, the staff will contact you directly. -
A valid School ID or Driver’s License is required for all reservations and must be
presented at check-in. -
If you need to cancel a reservation, please email us at CF-multimediacenter@lonestar.edu so
the space can be made available to others.
What Can You Create?
Faculty & Staff:
|
Students:
|
INSTRUCTIONS FOR THE...
- Your greenscreen should have as few wrinkles as possible.
- Place your subject 3 to 5 feet in front of your greenscreen.
- Light your greenscreen and your subject separately.
- Using a tripod, shoot your video - Record yourself or your subject in front of the greenscreen.
- Upload your video to the computer.
- If the video was taken with a phone, upload the video to your OneDrive cloud service to download it into the computer editing software.
- If you used the Canon video camera, remove the SD Card from the camera and insert it into the computer.
- Open the iMovie application on the computer.
- Locate the video(s) you took and drag them into the 'My Media' bin.
- Drag your background/graphic into the middle of the timeline section.
- Click on the cropping tool and then choose 'Fit'. (Anytime you upload a video or graphic into iMovie, it defaults to the 'Ken Burns' effect, which is a slow zoom effect, and you typically don't want this when using a greenscreen.)
- Drag your video into the timeline, placing it above the background/graphic.
- Extend the background/graphic to match the length of your video by.
- Now select your video and click on the video overlay icon.
- Using the dropdown menu that is currently selected as 'Cutaway', choose 'Green/Blue Screen'
- You'll need to use the 'Clean-up' tools now.
- Click on the cropping icon and move the corners to cut off any edges that you don't want in the video.
- Click on the eraser icon and erase any imperfections (you only get one chance to erase, so try to erase all imperfections with the first click)
- Click on the checkmark to accept all changes and apply the effect.
Direct link on YouTube: https://www.youtube.com/watch?v=jCqD7RVMn_0&t=41s
- Ensure the video camera is zoomed in enough so that the edges of the light board (learning glass) are not on the video.
- Additionally, ensure that autofocus is not on, and that the subject that will be behind the learning glass is in focus, as well as the content being written on the glass. (You may need assistance with this step from the coordinator on duty.)
- Begin recording.
- Turn the lights off in the room.
- Shoot your video.
- Turn the lights back on and stop recording.
- Upload your video to the computer.
- If the video was taken with a phone, upload the video to your OneDrive cloud service to download it into the computer editing software.
- If you used the Canon video camera, remove the SD Card from the camera and insert it into the computer.
- Open the iMovie application on the computer.
- Locate the video(s) you took and drag them into the 'My Media' bin.
How to Horizontally Flip Your Video
Direct link on YouTube: https://youtu.be/G9Rqns5U80M?si=DPpqFfFTvLIdMtt7
About Lone Star's light board
Direct link on Vimeo: https://vimeo.com/236586693
How does a light board work?
Direct link on YouTube: https://youtu.be/Uoz_osFtw68?si=epk3XY2hVIRqOh2H
Instructions on how to use the Podcast will be posted as soon as possible.
Please note that the One Button software is currently unavailable.
Instructions on how to use the Smart Board will be posted as soon as possible.
White board for Study
According to Study Tips by Will Peach, "Whiteboards might still have a place in your studying arsenal..."
Here are are few of his reasons for why a whiteboard is great when studying:
- Active Recall
- Great for visual learners
- Collaborating with a group (see White board for group work below)
- One last board session before your exam
White board for group work
In need of a space to plan a project with your team? Come to the Multimedia Center and make use of the large white board!
Ideas on how to use a white board for group work
Direct link on YouTube: https://youtu.be/6c6jqssJwkk?si=ImB5I5lrJU5Zzu3Q
Tips for using a white board while teaching
Direct link on YouTube: https://youtu.be/6-zYAiL5Kos?si=oufHrEt3R4aJ6MXW
Reserve the Room for Your Project Today
Note: Your Photo ID will be held by the Manager/Coordinator on duty during your reservation time. https://lonestarcollege.formstack.com/forms/multimedia_reservation_request
External Resources
The links below will take you to external websites that can help you acquire and develop the media skills to successfully create your content.
Want a deep dive into a specific aspect of Adobe Premier Pro? This site covers tutorials from 'Getting Started', to 'Sequences', 'Visual effects', 'Animation, and many more!
https://www.adobe.com/learn/premiere-pro
In this episode of Adobe Creative Cloud TV, Terry White shows you how to get started with Adobe Premiere Pro CC and editing video. You'll see the 10 things that beginners want to know how to do. See how to edit a video from start to finish even if you've never used Premiere Pro or edited a video before.
Direct link on YouTube - https://youtu.be/wK3JTh2jOf8?si=Ib7EMGPEHPENV2le
Not quite ready to jump into Premiere Pro? Rush is the answer for you. This site provides articles on how to create and preview your project, how to customize colors and titles, and more.
https://www.adobe.com/learn/premiere-rush
Would you rather use Premiere Pro over iMovie for green screen effects? In this episode of Adobe Creative Cloud TV, Terry White shows how to do green screen effects in Adobe Premiere Pro CC using the Ultra Key filter.
Direct link on YouTube - https://youtu.be/ouhWVZZXw5E?si=RsD2WX690O6ijkFm